# Text
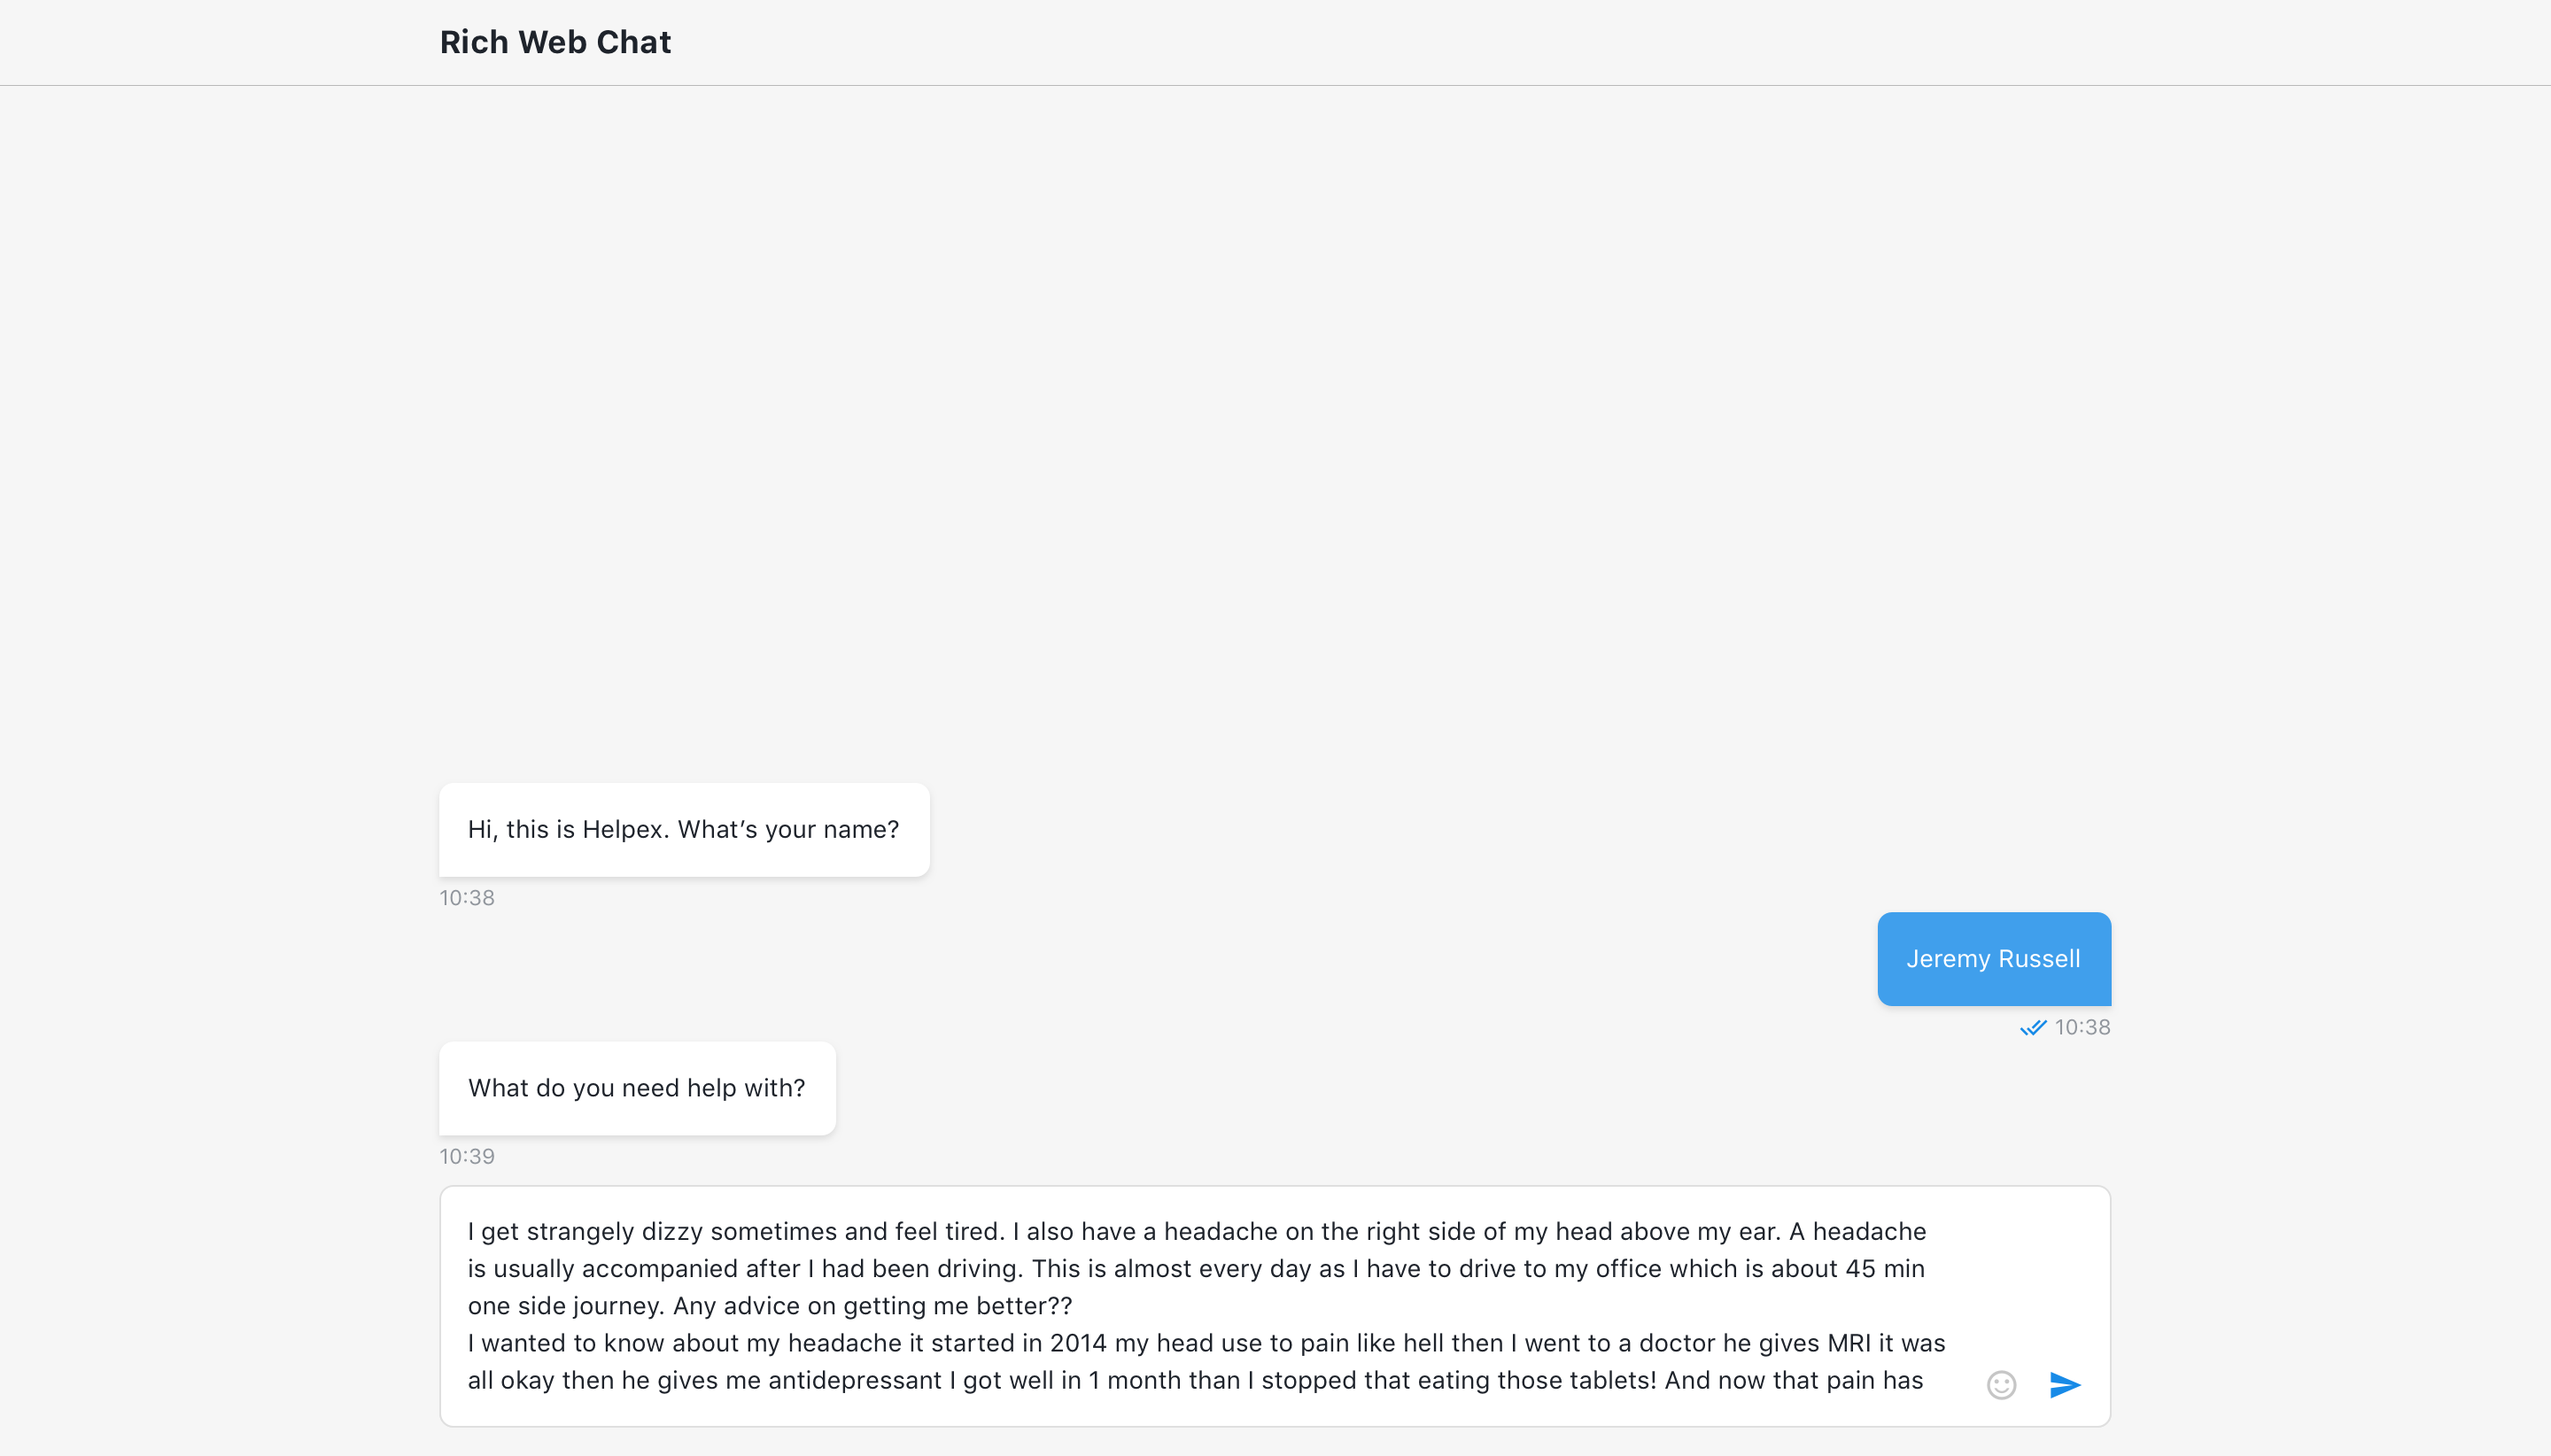
Defines that step will wait for visitor to type text in input field and send it.
# Add attachment(s)
To add files from your OneReach.ai storage, click on the respective option, then choose the necessary attachments in the modal window of Files. Note that any operations with data (renaming, deleting, etc.) are done throughout your OneReach.ai account and may affect other flows. To add files using links, click URL and specify it manually or declare it with a merge field.
There is no limit on the amount or size of attachments. Each attachment will be added to the message in the order from top to bottom.
Multiple files or links can be chosen via add file button or removed by a click on the bucket icon next to it in the step details panel.
# Output
The output of the step will contain user's reply, its structure will be:
{
  userReply: ''
}
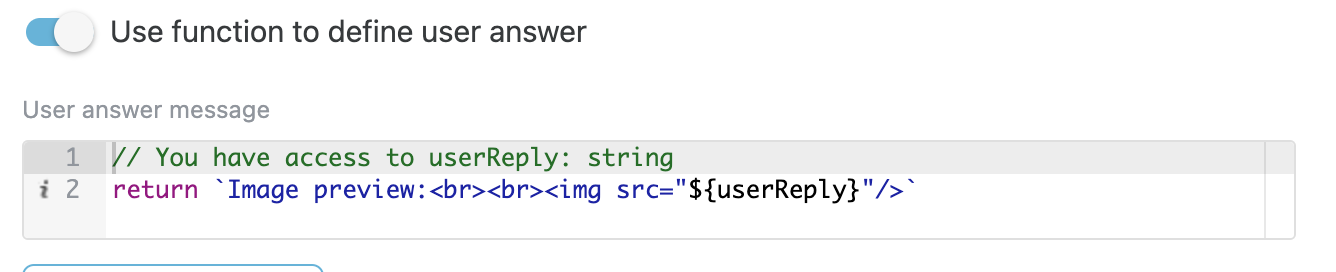
# Use function to define user answer
Allows to override default answer by custom message.
# Available variables
The same as output example.
{
  userReply: ''
}
# Example
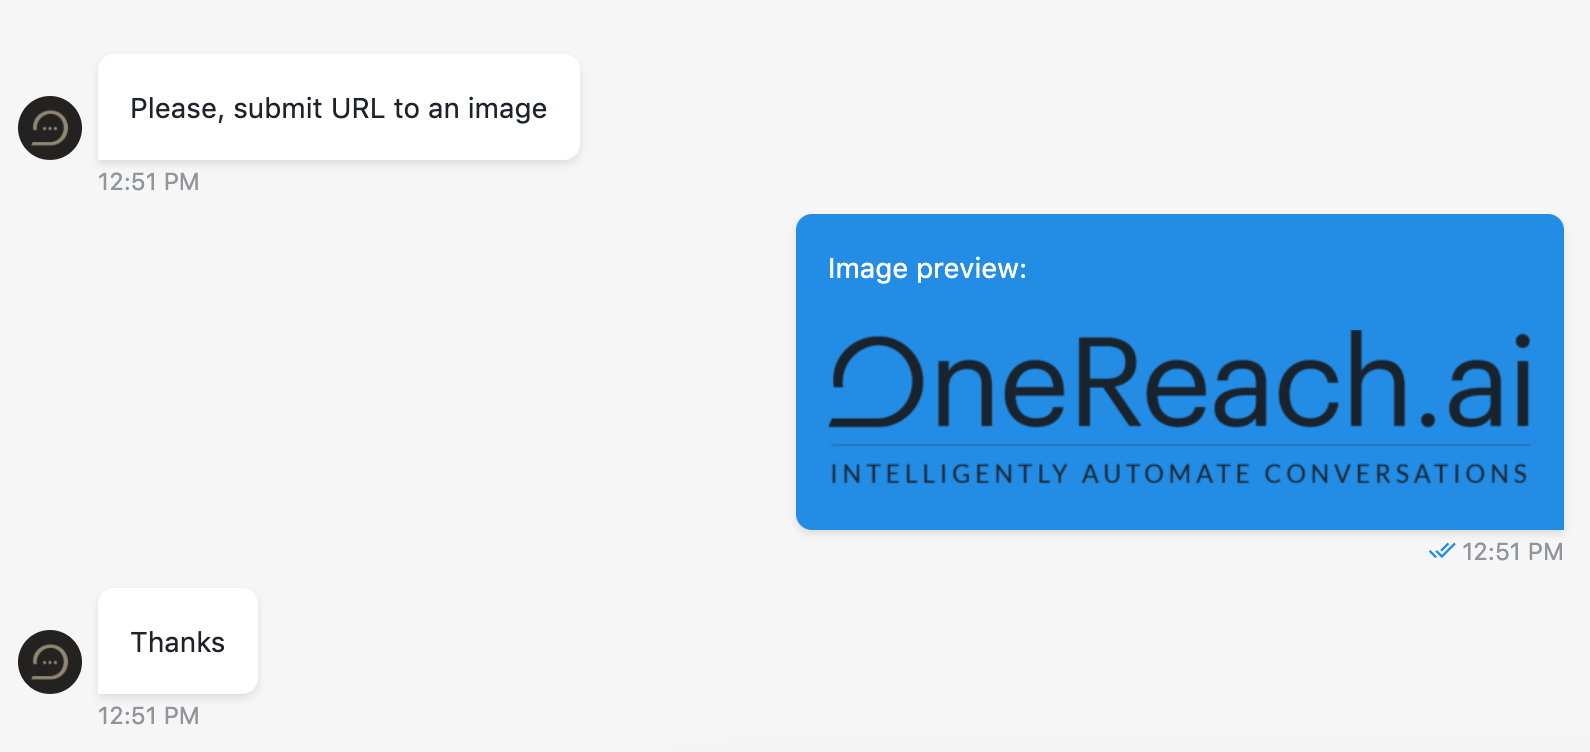
For example user inputs URL to an image and we want to show image in user answer instead of a link. And submit this link: https://www.regens.com/documents/20182/42024/onereach.png/eb52eefe-8056-468d-8d22-20058419d766?t=1528362573534 which is OneReach logo.
When building custom user answer you can use HTML markup to customize text or adding images.
return `Image preview:<br><br><img src="${userReply}"/>`
# Step configuration:
# Result: